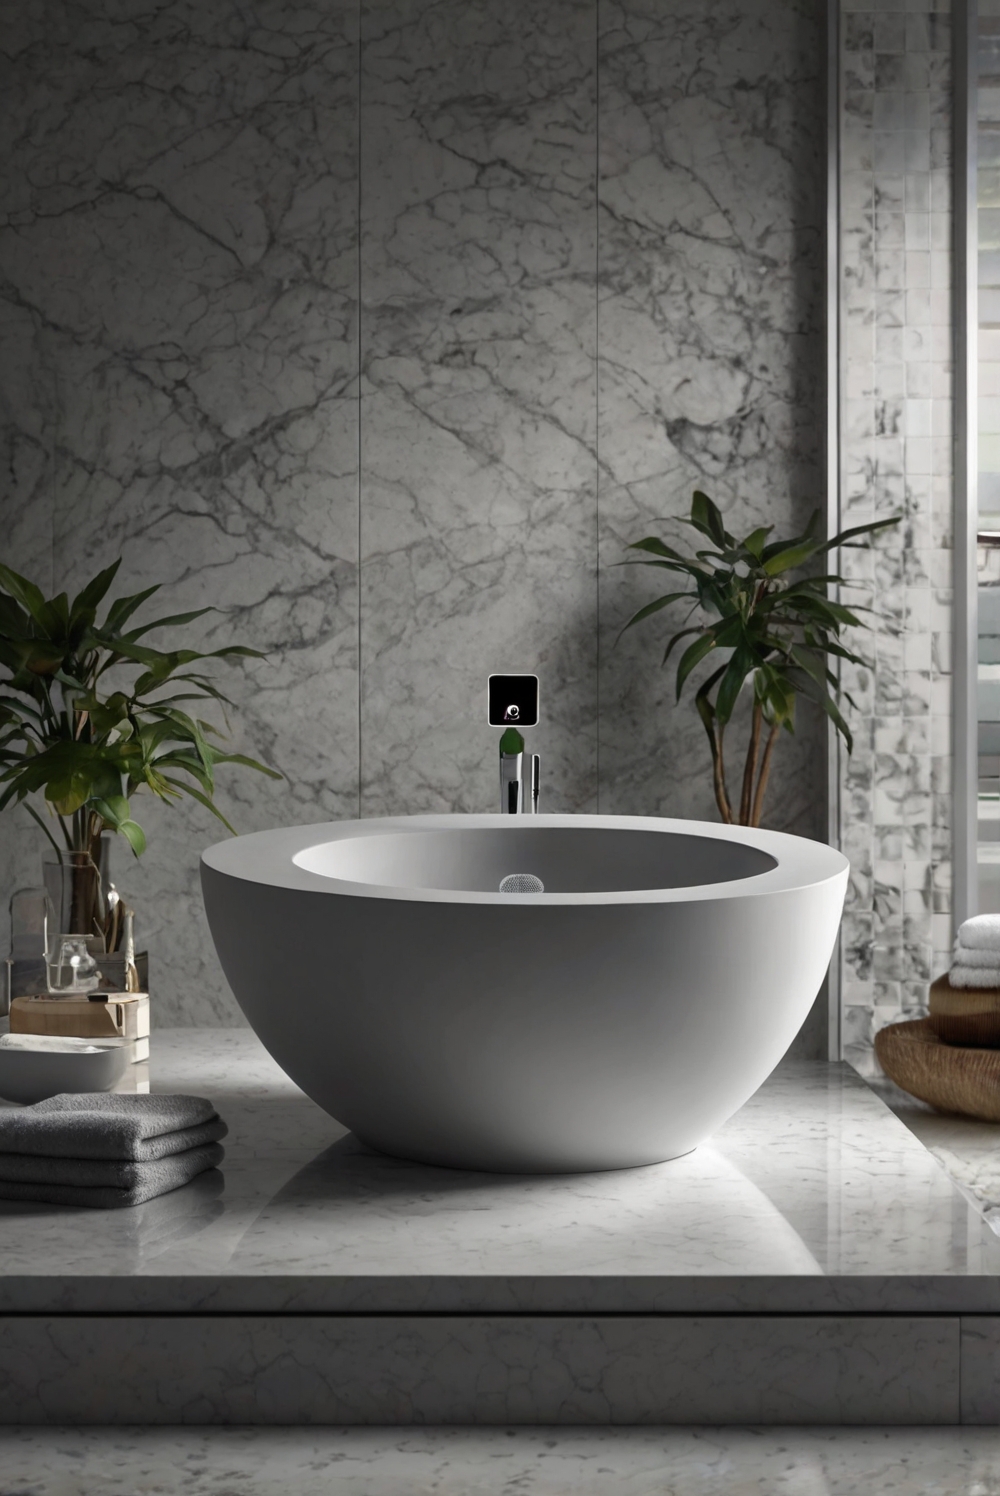
Discover a simple yet effective routine for interior designers to transform bathroom countertops. Add a touch of elegance and modernity with this easy painting technique.
**
how to paint bathroom countertop?
**
**
Answer:
**
To paint a bathroom countertop as part of my home decorating routine, I follow these steps:
1. **Preparation:** Clean the countertop thoroughly and sand it to create a smooth surface for painting.
2. **Primer:** Apply a high-quality primer suitable for countertops to ensure paint adhesion.
3. **Painting:** Use a durable paint specifically made for countertops in the desired color.
4. **Sealing:** Finish with a clear sealant to protect the painted surface from water and stains.
The benefits of painting the bathroom countertop include cost-effectiveness and the ability to customize your space. However, risks include improper preparation leading to chipping or peeling. To mitigate this, ensure proper cleaning and use quality materials.
Preparation:
To begin the process of painting your bathroom countertop, it is crucial to prepare the surface properly. Start by cleaning the countertop thoroughly with a mild soap and water solution. Remove any dirt, grime, or residue that may be present. Once the surface is clean, use a fine-grit sandpaper to roughen up the countertop slightly. This will help the paint adhere better.
Priming:
After preparing the surface, the next step is to apply a primer. Choose a high-quality bonding primer that is suitable for use on countertops. Apply the primer evenly using a brush or roller, making sure to cover the entire surface. Allow the primer to dry completely according to the manufacturer’s instructions.
Painting:
Once the primer is dry, you can start painting the countertop. Select a durable paint that is specifically designed for use on countertops. Apply the paint in thin, even coats, using a brush or roller. Allow each coat to dry completely before applying the next one. Depending on the color and desired finish, you may need to apply multiple coats of paint.
Sealing:
After the final coat of paint has dried, it is essential to seal the countertop to protect the paint and provide a durable finish. Choose a clear, water-based polyurethane sealer that is suitable for countertops. Apply the sealer in thin, even coats, following the manufacturer’s instructions. Allow the sealer to dry completely before using the countertop.
Finishing Touches:
Once the sealer is dry, your painted bathroom countertop is ready for use. Reinstall any hardware or fixtures that were removed during the painting process. Clean the countertop regularly with a mild soap and water solution to maintain its appearance. Avoid using harsh chemicals or abrasive cleaners that could damage the paint finish.
In conclusion, painting your bathroom countertop can be a cost-effective way to update the look of your bathroom without the need for a complete renovation. By following the steps outlined above and using the right materials, you can achieve a professional-looking finish that will withstand daily use. Remember to take your time and pay attention to detail during each step of the painting process for the best results. With proper preparation, priming, painting, sealing, and finishing touches, your bathroom countertop can be transformed into a stylish focal point in your bathroom.


