Are you ready to learn how to demo a bathroom? Dive into the daily routine of an interior designer as they transform spaces with stunning decor.
How to Demo a Bathroom
To demo a bathroom as part of your home decorating project, start by clearing out any personal items and removing fixtures like the sink, toilet, and shower. Make sure to turn off the water supply and electricity before beginning the demolition process to ensure safety. Use appropriate tools like sledgehammers and crowbars to tear down walls, flooring, and tiles. Dispose of debris responsibly and consider hiring professionals for plumbing and electrical work.
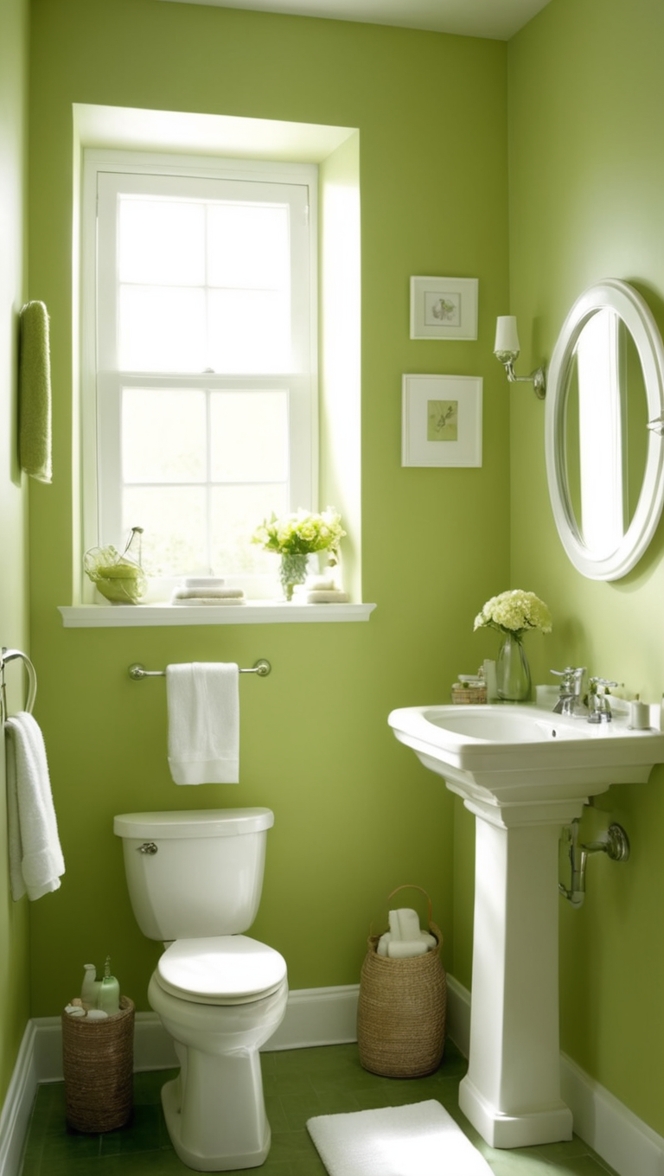
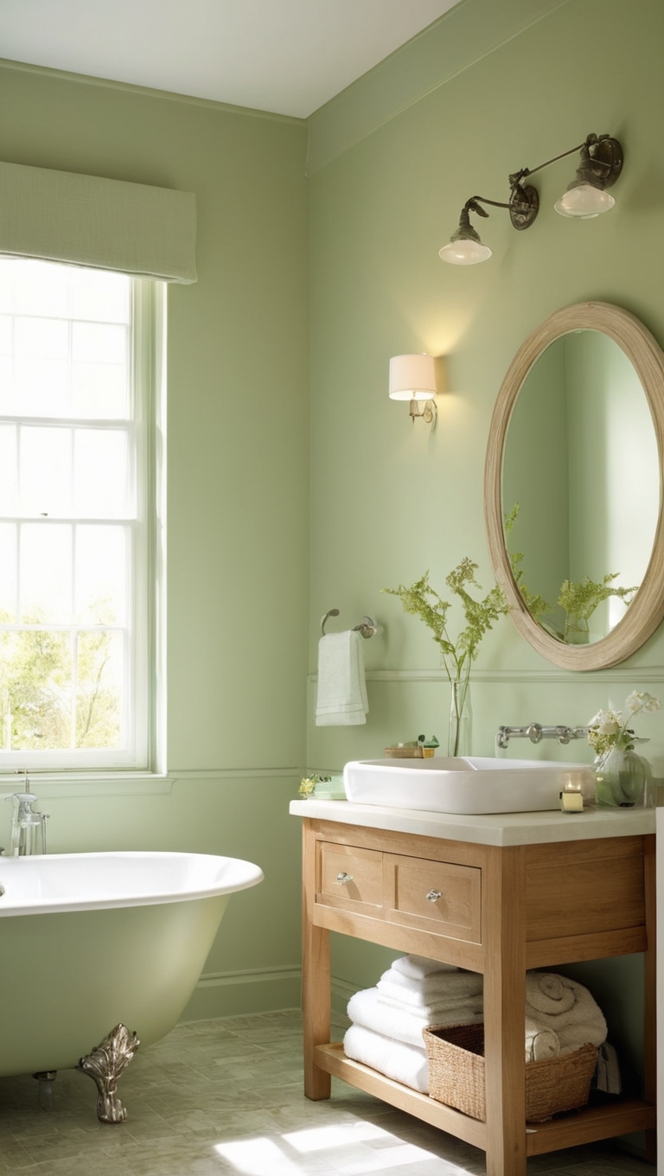
Demoing a bathroom can be a messy and labor-intensive task, but it provides a blank canvas for a fresh interior design. Proper space planning is crucial to optimize the layout and functionality of the new bathroom. Consider consulting interior designers for guidance on creating a stylish and functional space. Choose durable materials for flooring and walls to ensure longevity and easy maintenance. Select paint colors that match your desired aesthetic and create a cohesive look throughout the room.
By following these steps and being organized in your approach, you can successfully demo a bathroom and transform it into a stunning home decor interior design project.
Prepare the Bathroom
To begin the demo process, it is crucial to prepare the bathroom properly. Start by removing all items such as towels, bath mats, shower curtains, and toiletries. Clear out the cabinets and drawers to ensure they are empty. Cover the floors with protective materials such as drop cloths or cardboard to prevent damage during the demo. Turn off the water supply to the bathroom and disconnect any plumbing fixtures.
Protective Gear
Wear appropriate protective gear before starting the demo. This includes safety glasses, gloves, a dust mask, and closed-toe shoes. Demolition work can create a lot of dust, debris, and sharp edges, so it is essential to protect yourself from potential hazards.
Tools and Equipment
Gather all the necessary tools and equipment for the demo. This may include a hammer, pry bar, utility knife, crowbar, sledgehammer, and a reciprocating saw. Having the right tools will make the demo process more efficient and help you tackle different types of materials and fixtures in the bathroom.
Demolition Process
Once you have prepared the bathroom, put on your protective gear, and gathered your tools, you can start the demolition process. Begin by removing any fixtures such as the toilet, vanity, sink, and bathtub/shower. Use the appropriate tools to disconnect and remove these items carefully.
Removing Wall and Floor Materials
After removing the fixtures, you can start removing the wall and floor materials. Use a hammer and pry bar to take down any tiles, drywall, or flooring in the bathroom. Be cautious of any electrical wiring or plumbing behind the walls and floors to avoid damaging them.
In conclusion, demoing a bathroom involves thorough preparation, wearing protective gear, using the right tools, and following a systematic approach to remove fixtures and materials. By following these steps, you can successfully demo a bathroom while ensuring safety and efficiency.